Introduction
Embarking on a DIY tile installation project is a fantastic way to enhance the aesthetics of your home while also taking pride in personal craftsmanship. Whether you're updating your bathroom, kitchen, or flooring, the key to a successful tile installation lies in meticulous planning and execution. This guide provides a detailed walkthrough of each step, accompanied by tips and tricks to avoid common mistakes, ensuring a professional-quality finish.
Steps Overview
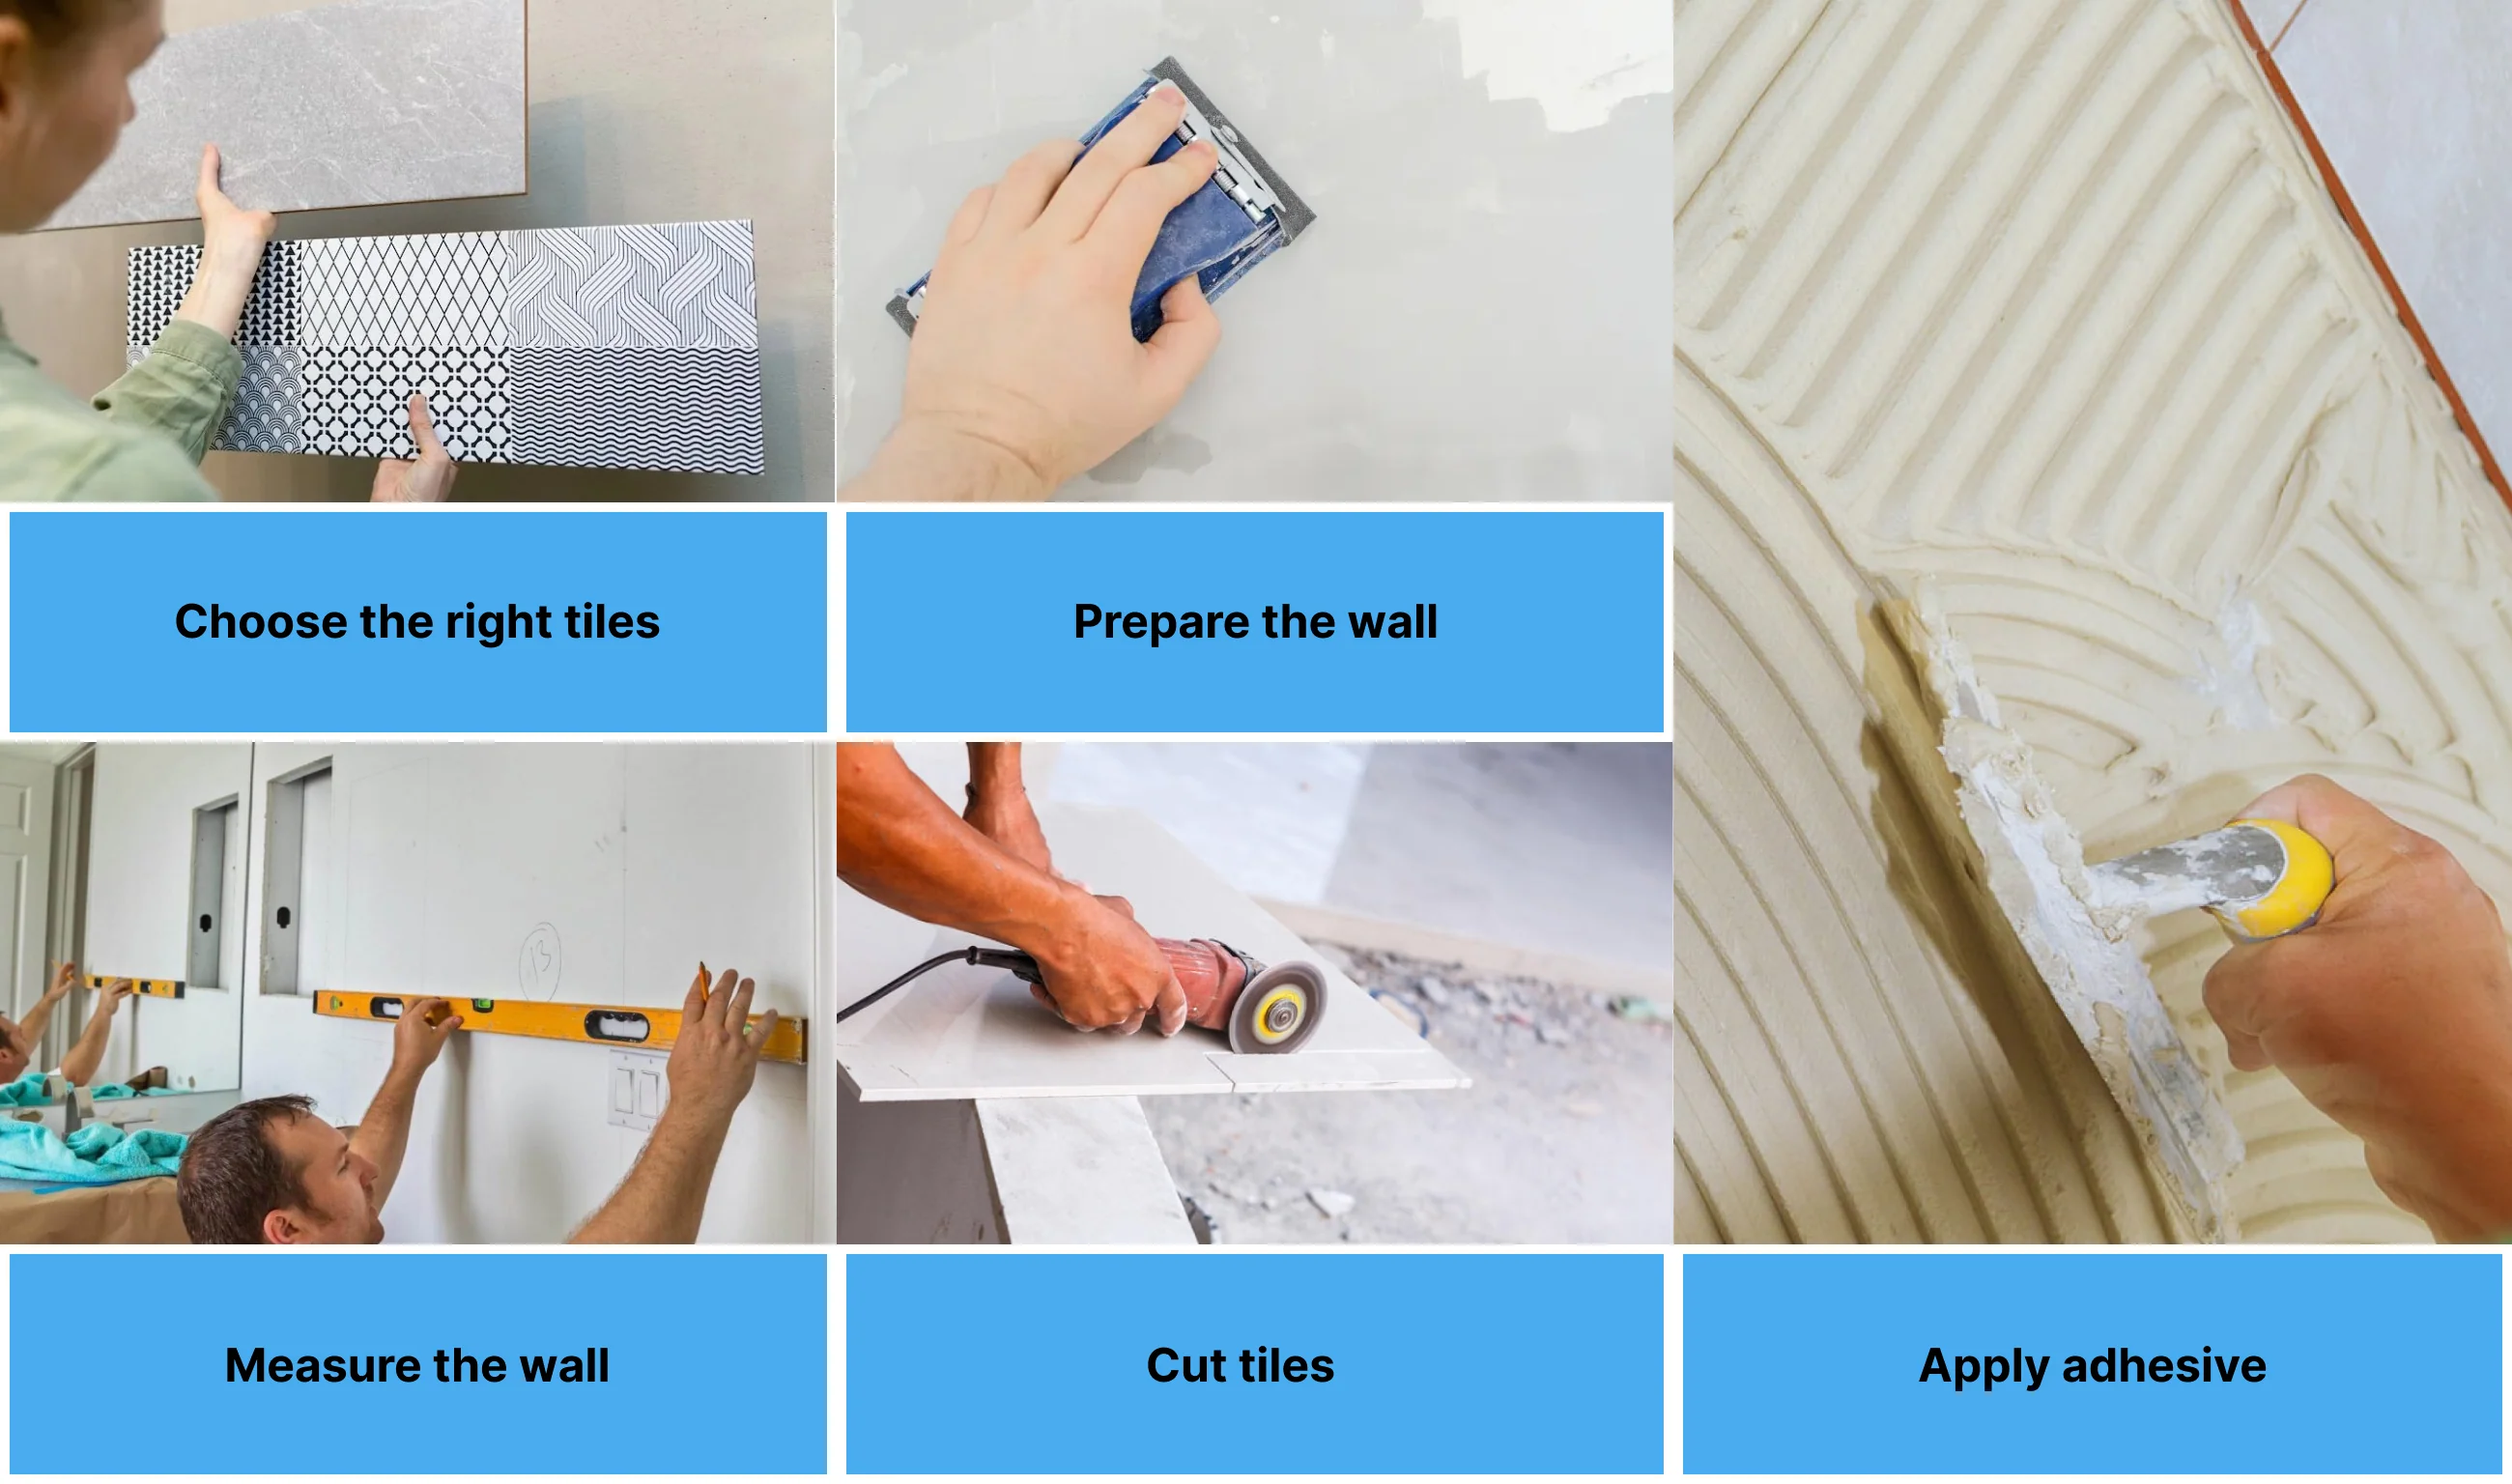
- Step #1 Gather Tools and Materials
- Step #2 Prepare the Surface
- Step #3 Plan Your Layout
- Step #4 Mix and Apply Thinset
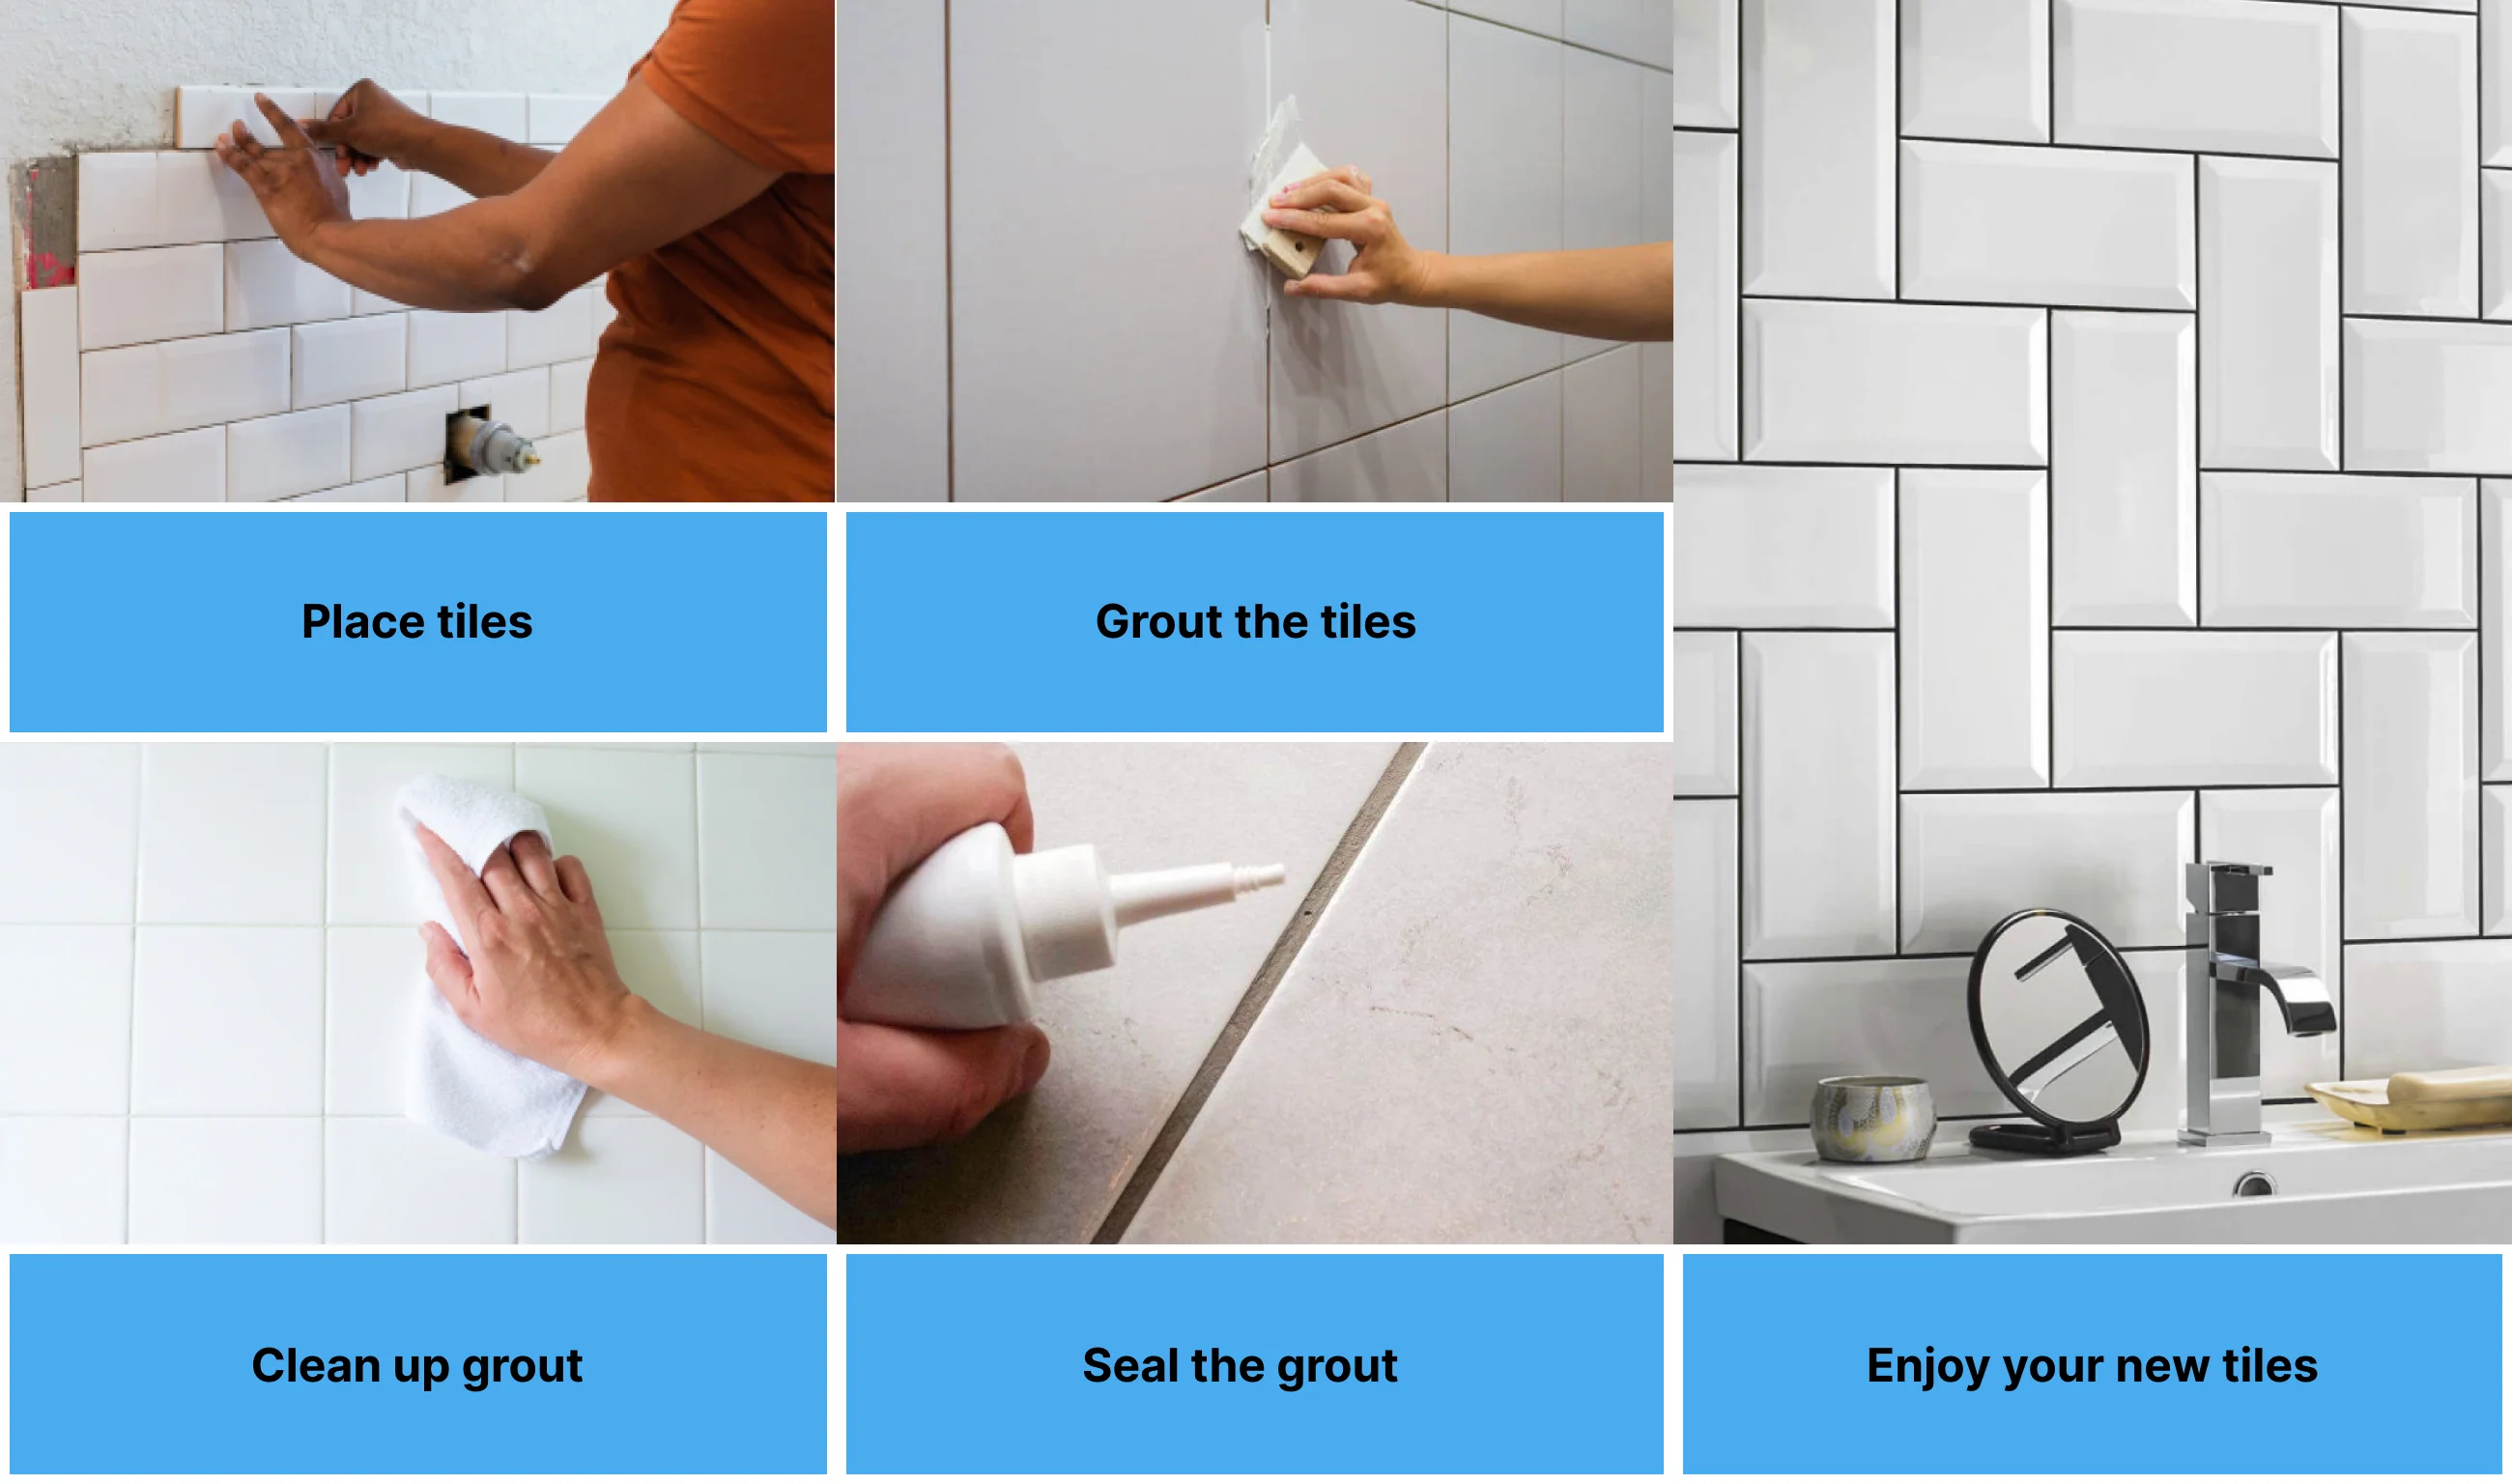
- Step #5 Lay the Tiles
- Step #6 Cut Tiles as Needed
- Step #7 Apply Grout
- Step #8 Seal the Tiles
1. Gather Tools and Materials
Before you begin, ensure you have all necessary tools and materials. This includes:
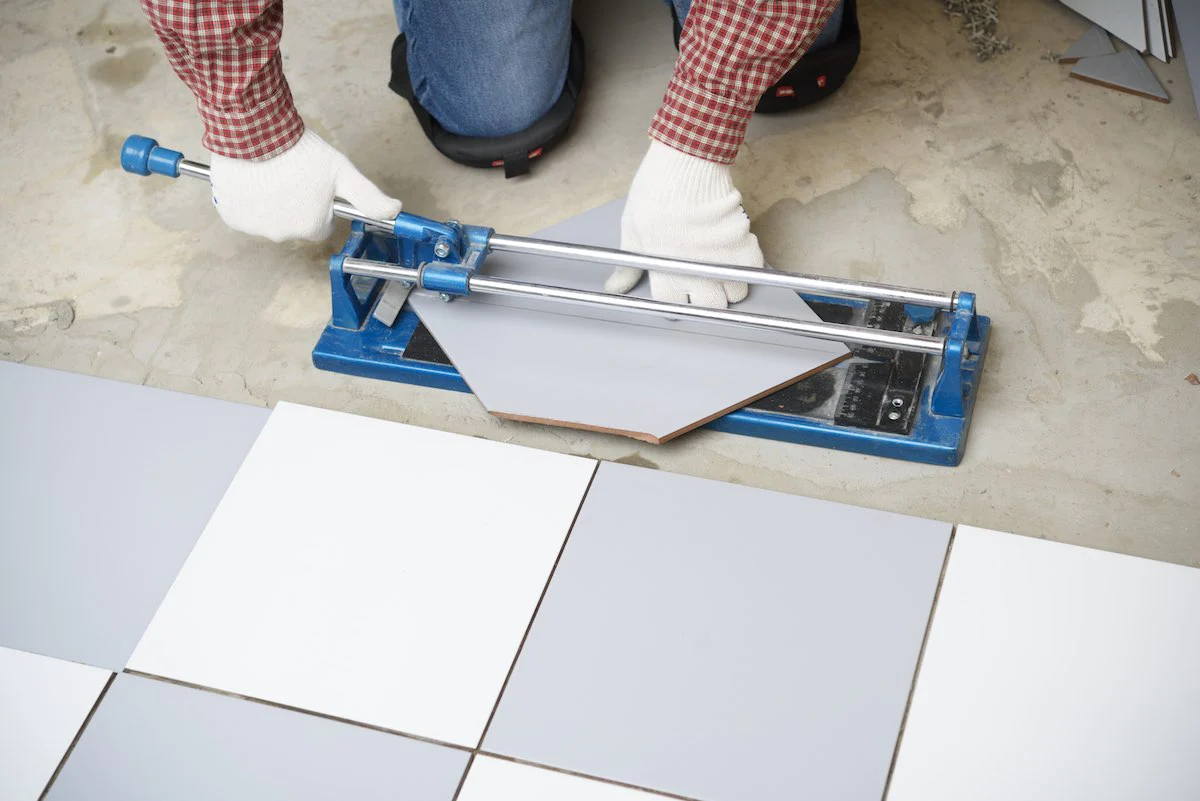
Tile Cutter: For cutting tiles to the right size.
Notched Trowel: For applying thinset mortar.
Float: For grouting.
Sponge and Bucket: For cleaning.
Level and Tape Measure: For precise measurements and surface preparation.
Tiles, Thinset Mortar, Grout, and Sealer: Select quality materials suitable for your specific installation area.
2. Prepare the Surface
The longevity of your tile work hinges on the surface preparation. Follow these steps:
Clean the Area: Remove dirt, debris, and any old flooring material.
Level the Surface: Use a level to check for evenness. Apply self-leveling underlayment if necessary.
Dry Layout: Arrange tiles on the surface to plan the layout, adjusting as needed to avoid small pieces at the edges.
3. Plan Your Layout
A well-thought-out layout is crucial for aesthetic appeal:
Find the Center Point: Measure to find the center of the room and mark it.
Dry Fit Tiles: Arrange tiles from the center outwards to check the layout, using spacers to simulate the grout lines.
Adjust as Needed: Ensure the layout is visually pleasing and functional, adjusting to avoid narrow tile strips in high-visibility areas.
4. Mix and Apply Thinset
Proper application of thinset mortar is essential for a secure tile installation:
Mix Thinset: Follow the manufacturer's instructions to mix to a peanut butter-like consistency.
Apply Thinset: Use the flat side of the trowel to apply an even layer, then comb through it with the notched side.
Work in Small Sections: Only spread as much thinset as you can cover with tile in 10-15 minutes to prevent it from drying out.
5. Lay the Tiles
Precision is key when placing tiles:
Start at the Center: Begin laying tiles at the center point, pressing each tile firmly into the thinset.
Use Spacers: Ensure consistent grout lines by using tile spacers.
Check as You Go: Regularly use a level to check that tiles are even and aligned.
6. Cut Tiles as Needed
Cutting tiles to fit the space properly is a skill that improves with practice:
Measure Twice, Cut Once: Mark tiles where cuts are needed, ensuring accuracy.
Use a Tile Cutter: For straight cuts, a manual tile cutter works well. For curves and notches, a wet saw is preferable.
Smooth Edges: After cutting, smooth the edges with sandpaper to remove any sharpness.
7. Apply Grout
Grout fills the spaces between tiles and adds to the finished look:
Mix Grout: According to the manufacturer's instructions, aiming for a consistency similar to toothpaste.
Spread Grout: Use a float to press grout into the joints, moving diagonally across tiles.
Clean Surface: Wipe away excess grout with a damp sponge, rinsing frequently.
8. Seal the Tiles (If Necessary)
Sealing is crucial for moisture-prone areas or when using porous tiles:
Apply Sealer: After the grout has fully cured, apply a sealant to the grout lines (and tiles if they're porous) to protect against moisture and stains.
Follow Instructions: Ensure the application adheres to the manufacturer's guidelines for the best protection.
Common Mistakes to Avoid
To achieve a professional finish, be mindful of common pitfalls:
Rushing the Process: Allow ample time for each step, especially drying times.
Inadequate Surface Preparation: An uneven base can lead to tile cracks.
Ignoring Manufacturer's Instructions: This can result in improper mixing and application.
Neglecting Layout Planning: Poor planning can lead to aesthetic and functional issues.
Wrapping Up
DIY tile installation is a rewarding project that can significantly improve the look of your home. By following these detailed steps and avoiding common mistakes, you can ensure a successful and lasting installation. Remember, the key to a beautiful finish lies in careful planning, patience, and attention to detail. Enjoy the transformation of your space and the satisfaction of a job well done.


